To use chest seals appropriately in a survival situation, first ensure that the area around the wound is clean and dry to prevent further contamination. Apply the seal after the patient exhales, positioning a vented seal’s one-way valve directly over the center of the wound. Press the edges firmly to establish a tight seal, as maintaining proper air pressure is crucial in the field. Continuously monitor the patient for any breathing difficulties or signs of tension pneumothorax, which could indicate a need for immediate intervention. Be prepared to “burp” the seal if necessary to relieve any pressure. Gaining further insights on different types of chest seals and their effective management can greatly enhance your skills and readiness in emergency scenarios.
Key Takeaways
- Ensure the wound area is clean and dry before applying the chest seal to maximize adhesion and effectiveness in survival situations.
- Apply the chest seal while the patient exhales to minimize the risk of trapping air in the pleural space, which can complicate survival.
- For vented seals, position the one-way valve directly over the center of the wound to allow trapped air to escape, ensuring optimal performance in critical scenarios.
- Monitor the patient closely for signs of tension pneumothorax, and be ready to “burp” the seal if necessary to prevent further complications in a survival setting.
- Conduct a thorough assessment for additional injuries and document any changes in the patient’s condition to ensure proper care and readiness for future medical intervention.
Understanding Chest Seals
When you encounter a sucking chest wound, knowing how to effectively use chest seals can be crucial for survival.
Chest seals are essential occlusive dressings designed to prevent air from entering the pleural space while allowing trapped air to escape. This function is vital in minimizing the risk of pneumothorax, a common complication in such injuries.
Vented chest seals come equipped with a one-way valve that permits air to exit the chest cavity during inhalation, alleviating pressure buildup and reducing the risk of lung collapse.
Vented chest seals feature a one-way valve, allowing trapped air to escape and preventing lung collapse.
In a survival situation, proper application and ongoing monitoring of the seal are fundamental to ensure its effectiveness and to identify complications, such as tension pneumothorax, which can develop after the application.
Your prompt and knowledgeable response in such emergencies can make the difference between life and death. Always be prepared and ready to act.
Steps for Applying a Chest Seal
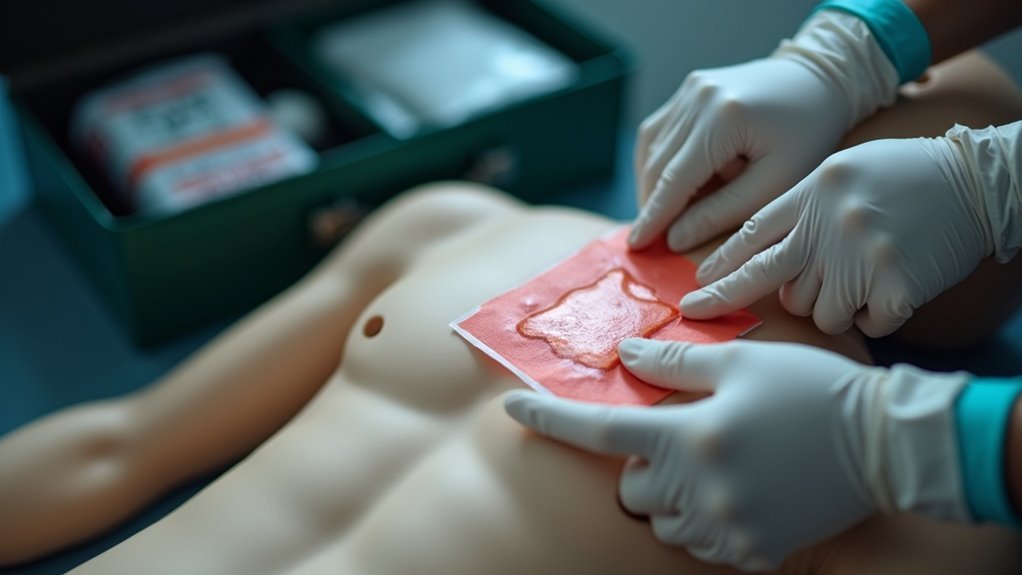
To effectively apply a chest seal in a survival or prepping situation, start by ensuring the area around the wound is clean and dry, as this promotes ideal adhesion.
After the patient exhales, apply the chest seal to minimize air trapping in the pleural space. If you’re using a vented chest seal, position the one-way valve directly over the center of the wound, allowing air to escape during inhalation.
Firmly press down on the adhesive edges to secure a tight seal against the skin. Continuously monitor the patient for any signs of breathing difficulties or tension pneumothorax, which may require further medical intervention.
Being prepared with the right medical supplies and knowledge can make a significant difference during emergencies.
Types of Chest Seals
Chest seals are vital tools for addressing penetrating chest injuries, especially in survival and prepping scenarios. Understanding the different types can enhance your preparedness for medical emergencies. Here’s a concise overview:
| Type | Description |
|---|---|
| Vented Seals | Allow air to escape while preventing air entry; ideal for managing tension pneumothorax (e.g., HALO) |
| Non-Vented Seals | Require careful monitoring for potential air trapping and may need “burping” to relieve pressure |
| Asherman Seal | Features a one-way valve specifically designed for sucking chest wounds, ensuring effective airflow management |
| Improvised Seals | Made using sterile dressings and tape; while less effective, they can serve as a temporary solution in emergencies |
| Commercial Options | Specifically designed for various types of wounds, ensuring proper sealing and effectiveness in the field |
Choosing the right chest seal is crucial for effectively managing different chest injuries in survival situations. Always include these in your first aid kit for emergencies.
Monitoring and Managing After Application
Monitoring the casualty closely after applying a chest seal is essential for survival, especially in a prepping scenario.
It’s vital to recognize signs of tension pneumothorax, which can occur if air becomes trapped in the chest cavity. Regularly check key indicators, such as respiratory rate and oxygen saturation, to evaluate the chest seal’s effectiveness.
If the patient exhibits difficulty breathing or increased respiratory distress, be ready to “burp” the seal by gently lifting a corner to allow trapped air to escape. Document all changes in the patient’s condition, noting any signs of deterioration or improvement.
Additionally, ensure the area around the seal remains clean to prevent infection and facilitate unobstructed air escape during inhalation. Being vigilant and prepared can make all the difference in a survival situation.
Assessing for Additional Injuries
After ensuring the chest seal is properly applied and monitoring the casualty’s condition, it’s essential to assess for additional injuries, especially in survival and prepping scenarios where medical resources may be limited.
Conduct a thorough examination of the chest and armpits for any entrance or exit wounds that require immediate attention. Be vigilant for signs of internal hemorrhage, as chest wounds can lead to severe complications in survival situations.
Thoroughly examine the chest and armpits for wounds, and watch for signs of internal hemorrhage in survival scenarios.
Utilize rapid trauma assessment techniques to identify other injuries while ensuring the airway remains clear and breathing stable. Remember, multiple injuries may be present, so adopt a systematic approach in these high-stakes environments.
Document your findings promptly to inform further medical interventions and improve outcomes in future emergencies.