To ferment vegetables safely for long-term storage and self-sufficiency, start by selecting fresh, undamaged produce and washing them thoroughly to remove any contaminants. Prepare a salt brine using two tablespoons of sea salt per liter of lukewarm water, which not only aids in preservation but also enhances flavor. During the fermentation process, keep your vegetables submerged to prevent spoilage and maintain a stable temperature between 68-75°F, ideal for beneficial bacteria to thrive. Monitor your batch for bubbling and taste it starting on day four to assess flavor development. Discard any batches that show signs of mold or off odors, as these can indicate spoilage. For those looking to deepen their understanding and improve safety, there are advanced techniques in the fermentation process that can further enhance your survival food storage.
Key Takeaways
- Choose fresh, undamaged vegetables and wash them thoroughly to eliminate pesticides and prevent spoilage during fermentation, which is essential for long-term food storage.
- Prepare a salt brine using two tablespoons of sea salt per liter of lukewarm water, ensuring the salt is completely dissolved before adding your vegetables to enhance preservation.
- Keep the vegetables submerged in the brine and maintain a fermentation temperature between 68-75°F for optimal results, crucial for ensuring your food supply remains safe and nutritious.
- Monitor for signs of active fermentation, such as bubbles, and begin tasting for sourness starting from day 4 to gauge the progress of your preservation efforts.
- Discard any batches that develop mold or unpleasant odors, as they can compromise your food supply, and avoid using metal lids to prevent reactions that could affect the quality of your stored food.
Choosing Fresh Vegetables for Fermentation
When you’re preparing to ferment vegetables as part of your survival and prepping strategy, it’s essential to select fresh, undamaged produce to ensure optimal results. High-quality vegetables like cucumbers, cabbage, carrots, and radishes are excellent choices for fermentation.
These vegetables should be disease-free to prevent spoilage and maximize the health benefits of your fermented foods, which can be crucial in a survival situation. Thoroughly wash all produce to remove any pesticides, peeling if necessary to ensure purity.
When chopping, a food processor can make the task quicker; slice hard vegetables thinly while leaving softer ones thicker for better texture in your final product. Choosing seasonal, fresh produce not only guarantees higher natural sugars but also optimizes the fermentation process, leading to increased lactic acid production for enhanced flavor—vital for maintaining morale and nutrition in challenging circumstances.
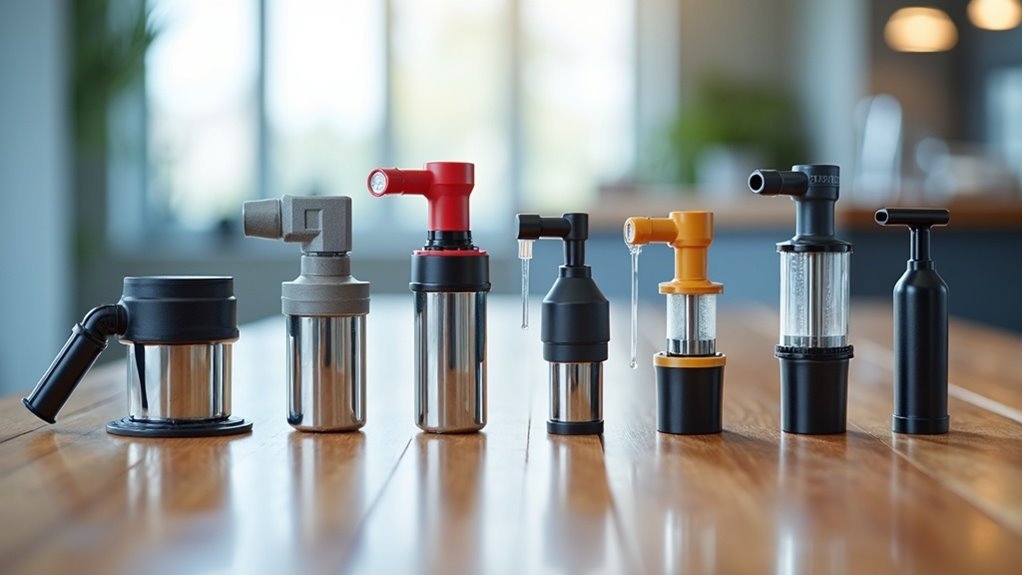
Essential Equipment and Ingredients
A well-equipped kitchen is essential for successful vegetable fermentation, especially for those focused on survivalism and prepping.
Start with a 1-quart wide mouth mason jar, which provides ample space and air circulation during the fermentation process—crucial for creating long-lasting food supplies. Use a plastic lid to prevent corrosion from the acidity of the vegetables, ensuring a secure seal that maintains the integrity of your preserved foods.
Sea salt is a key ingredient; mix two tablespoons per liter of lukewarm water to create your brine solution, which is vital for enhancing the preservation of your vegetables.
Utilize room temperature water (65-72°F) to create ideal conditions that promote beneficial bacteria while keeping harmful pathogens at bay. Ensure your vegetables are fully submerged in the brine for effective fermentation, and feel free to add optional spices to enhance flavor, making your survival food both nutritious and enjoyable.
Preparing the Salt Brine
Creating the salt brine is a crucial step in the fermentation process, especially for those interested in survivalism and prepping. It requires meticulous attention to detail to ensure your preserved foods are safe and effective.
For optimal vegetable fermentation, mix 2 tablespoons of sea salt with 1 liter of lukewarm water. Make sure the water is at room temperature, around 65-72°F, to aid in dissolving the salt. This brine not only preserves your vegetables but also fosters the growth of beneficial bacteria, essential for gut health during long-term food storage.
Different vegetables may require varying salt concentrations, typically ranging from 1.5% to 10%, so it’s important to adapt the brine recipe accordingly. Always ensure the salt is completely dissolved before adding it to your vegetables in Mason Jars.
Monitoring the salt content is vital; too much salt can hinder fermentation and compromise your food supply. By mastering this process, you can ensure you have nutritious, fermented vegetables ready for any emergency situation.
The Fermentation Process
Once you’ve prepared the salt brine, the fermentation process begins, harnessing the power of beneficial microorganisms—a crucial skill for any survivalist. Initially, salt-tolerant organisms like Leuconostoc mesenteroides break down sugars into lactic acid and carbon dioxide. As fermentation progresses, Lactobacillus takes over, enhancing acidity and flavor, which can be vital for nutrition and preservation in a survival scenario. It’s essential to keep vegetables submerged in the brine to prevent exposure to harmful bacteria that could jeopardize your food supply. Monitor the temperature, ideally between 68-75°F, and keep an eye out for bubbles, which signal active fermentation. Conduct taste tests around day 4, as the ideal flavor usually develops by day 5 or 6, ensuring your fermented foods are both safe and delicious.
| Stage | Key Actions |
|---|---|
| Initiation | Lactic acid starts forming |
| Primary | Lactobacillus produces more acids |
| Temperature | Maintain 68-75°F |
| Monitoring | Check for bubbles and conduct taste tests |
Mastering fermentation not only extends the shelf life of your food but also enhances your self-sufficiency in a prepping lifestyle.
Monitoring and Troubleshooting
How can you ensure your fermentation process is on track for long-term food storage? Begin by monitoring for bubbles, which indicate active fermentation. If bubbles are absent, reassess your brine concentration and temperature, aiming for a stable range of 65-74°F.
Conduct taste tests starting from day 4 to evaluate sourness levels, ensuring the flavor aligns with your preservation goals. Keep vegetables submerged in brine to prevent spoilage; utilize weights if necessary to maintain submersion.
If you notice white yeast, it’s generally safe to skim, but be vigilant—discard any batch that exhibits furry or brightly colored mold and emits an unpleasant odor. Staying attentive throughout the fermentation process is crucial for ensuring your preserved foods remain safe, nutritious, and ready for your survival preparations.
Storage and Shelf Life
To ensure your fermented vegetables remain safe and of high quality during storage, it’s crucial to implement proper techniques right after fermentation concludes.
Transferring your jars to refrigeration significantly slows down the fermentation process, allowing you to extend their shelf life for several months—an important consideration for those preparing for emergencies. The best flavors usually develop within 5 to 30 days, and refrigeration helps preserve their nutritional benefits while preventing spoilage, which is vital in a survival situation.
Be aware that keeping jars at room temperature can lead to spoilage, so it’s essential to monitor your storage conditions closely.
In the event you encounter overly salty fermented vegetables, rinsing them before consumption can alleviate the saltiness. For future batches, adjusting brine proportions can enhance your fermentation success and ensure safe storage, contributing to your overall preparedness strategy.
Flavoring Your Ferments
When you’re flavoring your ferments for survival meals, consider adding robust ingredients like minced garlic, ginger, or chili to enhance the taste and nutritional value.
Sweeteners such as dried currants or grated apple can’t only improve flavor but also accelerate fermentation, which is crucial for maximizing your food supply.
Experimenting with different herbs and spices can yield unique profiles, allowing you to create custom batches that cater to your long-term storage needs and personal preferences.
Popular Flavor Additions
What makes your fermented vegetables a vital addition to your survival pantry? Popular flavor additions can significantly enhance the taste and nutritional value of your preserved foods.
Minced garlic, for example, not only enriches flavor but also offers health benefits that are crucial for maintaining well-being in challenging situations. Consider integrating ginger or chili for a zesty kick that can also help with digestion.
Sea vegetables can elevate your ferments, providing unique flavors along with essential nutrients that may be scarce in survival scenarios. While using table salt or iodized salt is essential for fermentation, experimenting with herbs like dill and caraway seeds can create diverse flavor profiles to keep your meals interesting.
Sweeteners like dried currants or grated apple can help balance acidity and expedite fermentation, allowing you to craft personalized and delicious ferments that can sustain you during tough times.
Experimenting With Herbs
While experimenting with herbs in your fermentation process can significantly enhance both flavor and health benefits, selecting the right combinations is crucial for creating a well-balanced product that supports your survival needs.
Start simple by adding one or two herbs, such as dill or garlic, to your jars of fermenting vegetables. These additions not only elevate the flavor profile but also contribute to probiotic benefits through lactobacillus, which is essential for gut health during times of food scarcity.
Incorporate sea salt and natural sweeteners, like grated apple, to help balance acidity and improve preservation. As you build your confidence, venture into more complex combinations, including sea vegetables, to introduce unique tastes and nutritional boosts to your prepper pantry.
Just remember to avoid using metal lids, as they can react negatively during fermentation, potentially compromising your food storage efforts.