To properly splint a limb in a survival situation, first assess the injury for signs like swelling or deformity. Use strong, durable materials that you may have on hand, such as sticks or rolled-up newspapers, for immobilization, and add padding with clothing or other soft materials for comfort. Ensure the splint is snug but not constrictive to allow for circulation. Secure the splint in position without attempting to realign the limb, and regularly monitor for circulation, motor function, and sensory response. Keep an eye out for complications, as untreated injuries can worsen in a survival scenario. If you notice severe signs or if the victim’s condition deteriorates, seek medical help as soon as possible. Being prepared with knowledge on this process can be crucial for ensuring a successful outcome in emergency situations.
Key Takeaways
- Assess the injury for deformity, swelling, or bruising, and check circulation before applying a splint, as preparedness is key in survival situations.
- Use strong, durable materials for splinting, incorporating thick padding to enhance comfort and protect bony areas; this is essential for long-term survival scenarios where medical help may not be immediate.
- Secure the splint with adjustable fasteners, ensuring it covers joints above and below the injury without applying direct pressure; this allows for mobility while maintaining stability in the field.
- Monitor for complications by routinely checking circulation, motor function, and sensation, and be ready to adjust the splint if necessary to prevent further injury during extended survival situations.
- Seek medical help immediately for serious signs like bone protrusion, cold limbs, or loss of pulse, as timely intervention can be crucial in life-threatening scenarios.
Assessing the Injury
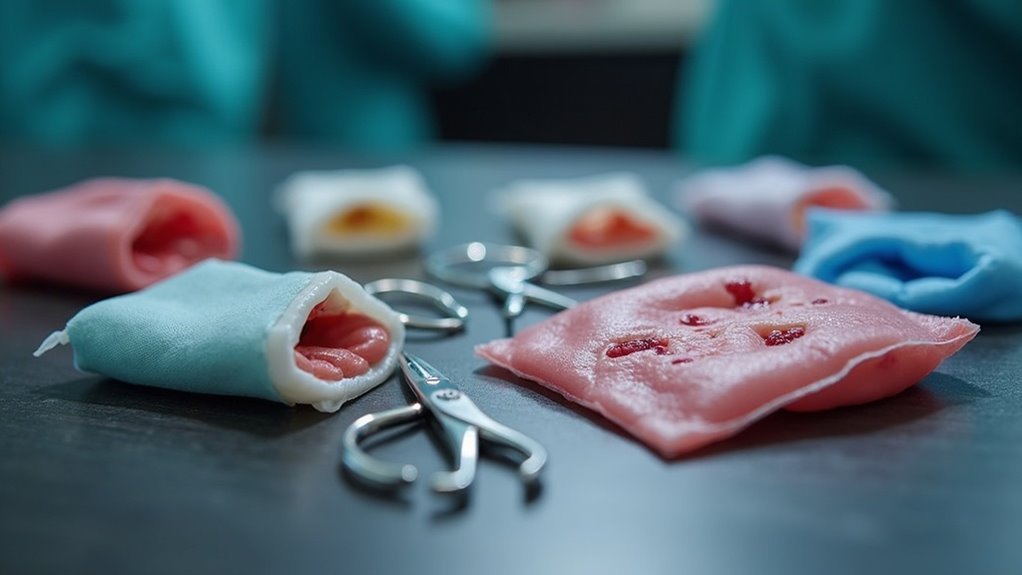
When assessing an injured limb in a survival situation, begin by looking for signs of deformity, swelling, tenderness, or bruising, as these can indicate the severity of the injury.
Next, check circulation by evaluating capillary refill, motor function, and sensation in the fingers or toes to ensure blood flow isn’t compromised.
Check circulation by assessing capillary refill, motor function, and sensation in the extremities to confirm blood flow is intact.
Determine if it’s a closed fracture or an open fracture, as this affects treatment priorities in a remote environment.
Gathering information about the mechanism of injury can help you anticipate potential complications and plan for appropriate care.
Always splint the limb in the position found to prevent further injury and reduce pain, avoiding attempts to realign the injury, as this could complicate the situation in a survival scenario.
Choosing the Right Materials
When you’re selecting materials for splinting in a survival or prepping scenario, prioritize strong and durable rigid supports that can effectively immobilize the injury even in challenging conditions.
Remember to include padding to enhance comfort and avoid pressure sores on the skin, especially when dealing with extended wear in the field.
Additionally, ensure you have secure fastening methods, such as adjustable straps, which will accommodate any swelling and provide a snug fit, essential for maintaining mobility and readiness in a survival situation.
Appropriate Rigid Supports
Choosing the right materials for splinting is crucial for effective immobilization and protection of an injured limb, especially in survival situations where resources may be limited. Appropriate rigid supports, such as sticks, boards, or commercially made devices, provide the necessary support when a splint is applied. Ensure the selected material extends beyond the injury site, covering joints above and below for optimal stability. Here’s a quick overview of suitable materials for your survival kit:
| Material Type | Notes |
|---|---|
| Sticks | Readily available in the wild, strong, and rigid. |
| Boards | Provides excellent support; can be easily sourced and cut from fallen trees or scrap materials. |
| Rolled Newspapers | Flexible and lightweight but may lack the strength needed for severe injuries. |
| Commercial Splints | Designed for peak immobilization; consider having a few in your emergency supplies if space allows. |
Assess your environment and what materials are at your disposal, and choose wisely for effective first aid in any survival scenario!
Padding for Comfort
To ensure comfort and prevent pressure sores on an injured limb while preparing for emergencies, selecting the right padding materials is crucial.
Utilize foam, cotton, or soft cloth to effectively cushion the injured body part. Ensure the padding is adequately thick to protect bony prominences while maintaining proper immobilization. It should extend beyond the edges of the splint, safeguarding the skin from hard splint edges.
Always monitor circulation; the padding should be snug yet not constrictive. Regularly inspect for wear, moisture, or dirt, as compromised padding can lead to irritation or infection.
Prioritizing comfort is essential to support recovery, especially in survival situations where mobility and health are paramount.
Secure Fastening Methods
While securing a splint in a survival situation, choosing the right materials is crucial for both stability and comfort. Opt for adjustable materials like Velcro straps, cloth ties, or adhesive tape to avoid applying pressure on the injury site. Ensure the splint extends beyond the injury, adequately covering the joints above and below the fracture to maintain functionality.
| Material Type | Purpose |
|---|---|
| Velcro Straps | Adjustable and secure fastening |
| Cloth Ties | Comfortable support for long-term wear |
| Adhesive Tape | Quick and effective hold in emergencies |
Always check for good circulation after fastening to ensure the splint isn’t too tight, as compromised blood flow can lead to further complications. Remember, do not attempt to realign the limb during this process, especially in a survival scenario where resources may be limited. Prioritize maintaining the stability of the injury while preparing for potential evacuation or further treatment.
Positioning the Limb
When you’re prepared to position the injured limb in a survival situation, it’s essential to keep it in the position you found it. Attempting to realign it could exacerbate the injury, complicating an already critical situation.
Ensure the splint extends beyond the injured area, adequately covering the joints above and below for maximum stability. Be mindful of causing any additional pain or discomfort during this process, as your goal is to stabilize the injury without further harm.
Monitor the limb’s circulation vigilantly; assess color, temperature, and capillary refill to confirm that blood flow remains intact. Proper positioning is vital to prevent complications in a survival scenario, so take your time to secure the splint comfortably while ensuring it maintains the limb’s original alignment.
Padding for Comfort
When splinting a limb in a survival situation, proper padding is crucial for your comfort and to prevent skin irritation.
Utilize soft materials such as foam, rolled towels, or even clothing items to cushion bony areas and extend beyond the edges of the splint.
Regularly check and adjust the padding as necessary to accommodate swelling and maintain circulation, ensuring that comfort isn’t compromised while you focus on your survival needs.
Importance of Padding
Proper padding is essential for ensuring comfort and effectiveness when applying a splint in survival situations, as it helps prevent pressure points and skin irritation.
In a preparedness scenario, you should place padding over bony prominences and areas that will contact the splint to distribute pressure evenly and minimize discomfort during immobilization.
Utilizing foam padding or soft materials not only absorbs shock but also reduces friction, providing additional protection for the skin.
Insufficient padding can lead to complications such as pressure sores, which can hinder recovery and require extra medical intervention—critical setbacks in survival situations.
Always check the splint’s fit and padding after application to ensure circulation isn’t compromised and that the patient remains comfortable throughout the process, especially when resources may be limited.
Types of Padding Materials
Choosing the right padding material for splinting is crucial in a survival situation, as it affects both comfort and the effectiveness of immobilization. In the field, you want to use materials that cushion and protect the soft tissue around an injury while also being accessible and practical.
Consider these options for effective padding in a prepping context:
- Foam: Lightweight, soft, and adaptable, providing excellent cushioning for injuries.
- Cotton: Breathable and hypoallergenic, making it a good choice for sensitive skin, especially when resources are limited.
- Specialized splinting material: While not always readily available, if you can find it, this material is designed specifically for immobilization with durability in mind.
In a survival scenario, ensure that the padding extends beyond the splint’s edges to minimize friction against the skin.
Regularly check for wear, as compressed padding can lead to discomfort and reduced support in critical situations.
Always have a backup plan for materials to ensure you’re prepared for any emergency.
Proper Padding Techniques
How can you ensure maximum comfort while splinting an injured limb in a survival situation? Start by utilizing soft, non-adhesive padding materials like foam or cotton, which can often be found in emergency kits or repurposed from available resources. This provides a cushion between the splint and the injured area, preventing pressure sores and skin irritation—critical in a survival scenario where access to medical assistance may be limited.
Ensure that your padding extends beyond the injury site, covering joints above and below, to provide comprehensive support. However, be cautious not to over-pad, as excessive cushioning can destabilize the splint and lead to unwanted movement of the injured area, potentially complicating recovery.
Lastly, regularly check the padding and the condition of the skin to confirm there’s no discomfort, irritation, or compromised circulation. In a survival context, maintaining comfort is essential for effective healing and preparedness.
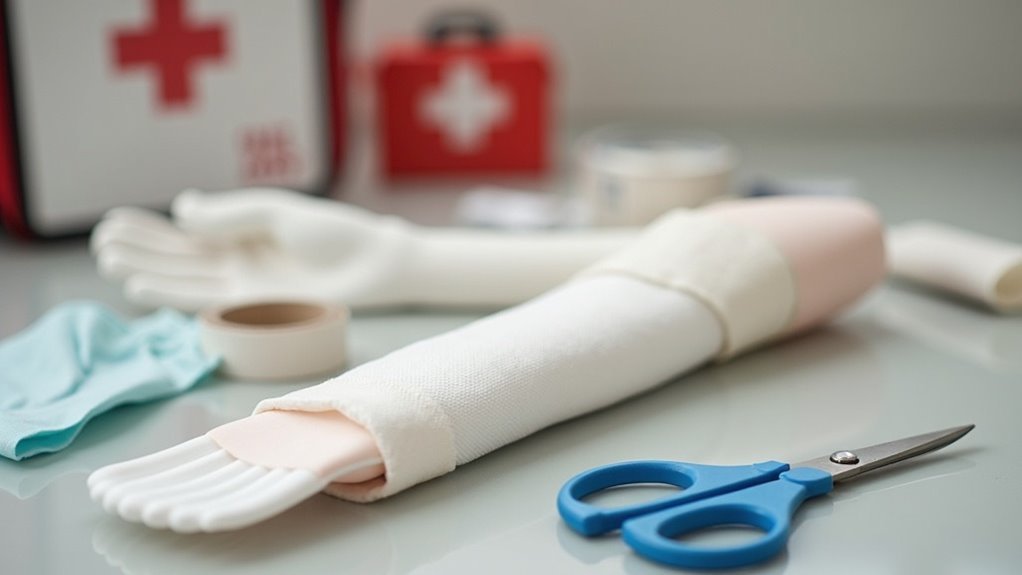
Securing the Splint
Securing a splint effectively is crucial for ensuring the stability of an injured limb, especially in survival situations where medical help may not be immediately available. Properly securing a splint not only alleviates pain but also guarantees that the injury is immobilized safely. Follow these essential steps:
- Utilize durable ties, straps, or even improvised materials like strong cloth or paracord, placed above and below the injury site to hold the splint firmly in place without restricting blood flow.
- Ensure the splint extends well beyond the injury site, covering surrounding joints to provide maximum stability, crucial in rugged environments where movement can exacerbate injuries.
- Apply padding—such as clothing, leaves, or other soft materials—to cushion the splint against the skin, reducing the risk of pressure sores and enhancing comfort during long waits for medical assistance.
Always monitor for signs of compromised circulation, such as warmth, color changes, and pulse after securing the splint.
If you observe swelling, paleness, or numbness, loosen the splint immediately to prevent further complications.
Monitoring for Complications
After splinting a limb during an emergency situation, it’s crucial to monitor the injury closely to prevent complications that could hinder survival. Keep a vigilant eye on circulation by checking capillary refill, motor function, temperature, and sensation. Be alert for signs such as increased pain or swelling, which may indicate the need to adjust the splint or seek further assistance.
| Observation | Normal Signs | Warning Signs |
|---|---|---|
| Capillary Refill | Less than 2 seconds | More than 2 seconds |
| Limb Color | Pink | Pale or discolored |
| Temperature | Warm | Cold |
| Sensation | Intact | Numbness or tingling |
Keep a detailed record of any changes in the injured limb and be prepared to notify medical personnel or your survival group if complications develop. Proper monitoring can make a significant difference in the outcome of an injury in a survival situation.
When to Seek Medical Help
When should you seek medical help for an injured limb in a survival situation? It’s crucial to act swiftly in certain circumstances:
- If you observe a bone protruding through the skin or an open wound around the injury, immediate attention is necessary.
- If the limb feels cold or lacks a pulse, this may indicate serious circulation issues that require urgent care.
- If fingers or toes turn blue and there’s a loss of sensation, this suggests a severe vascular injury that needs to be addressed promptly.
Furthermore, if you experience persistent pain, swelling, or numbness after attempting to stabilize the limb with a splint, it’s time to get a medical evaluation.
In survival scenarios, timely intervention can prevent complications and promote proper healing of your injury. Always be prepared to call for help when necessary.